Beginner’s Guide On How To Braid Your Hair


One of the ways to change your facial outlook is to change your hairstyle. Some hairstyles can make you look younger than your real age. Nevertheless, you need the expertise of a good hairdresser to bring out your inner beauty in the same way a sculptor carves out beautiful images from a log of wood. In most cases, you have to pay through your nose to keep an expert’s attention on you. Do you know that you can learn how to braid hair on your own so that you do not need the help of anyone? Read on to find out.

Tools for braiding
If you are already planning to braid your hair on your own, you need to start putting together the right tools for the job. There are few things that you need to braid well. Thankfully, these tools can last you for years before you ever need to change them. Ultimately, you will not only be cutting down on your hairstyling budget but also looking exactly how you want.
Comb and Brush
First on the list is comb and brush. Using comb aligns hair strands and helps to keep them in uniform order. With a comb, you can detangle the strands. The brush does the work of aligning hair strands but in a much better way. You can give your hair some aesthetic properties to stun onlookers.
Hair Cream
To make combing or brushing easier, you need hair cream. When it comes to hair cream, there is a flurry of options for black hair. We have another article that talks about hair creams. Check it out here. Hair creams make it easy for combs to glide through the hair without causing hair breakage.
Hairbands and pins
You may need rubber bands or at least pins. After combing and brushing, you have to keep the hair in place. This is to enable you to concentrate on one portion at a time. Apart from that, it will keep your combed hair from tangling. The last thing which you badly need is the skills. Fortunately, that is why you need this article to tell you all about it.

Whether you have long hair or short ones, you need to gently comb your hair. It is advisable to start with the biggest comb available to minimize detangling pain. Using the biggest comb size also helps to minimize hair loss and breakage. Hair loss normally happens when you have dry hair. Therefore, it is important to moisturize your hair before combing. Also, dampening the hair with a little water will increase its strain tolerance level. Once you have arranged your hair by brushing, use the rubber band to keep them in place.

The skill of braiding

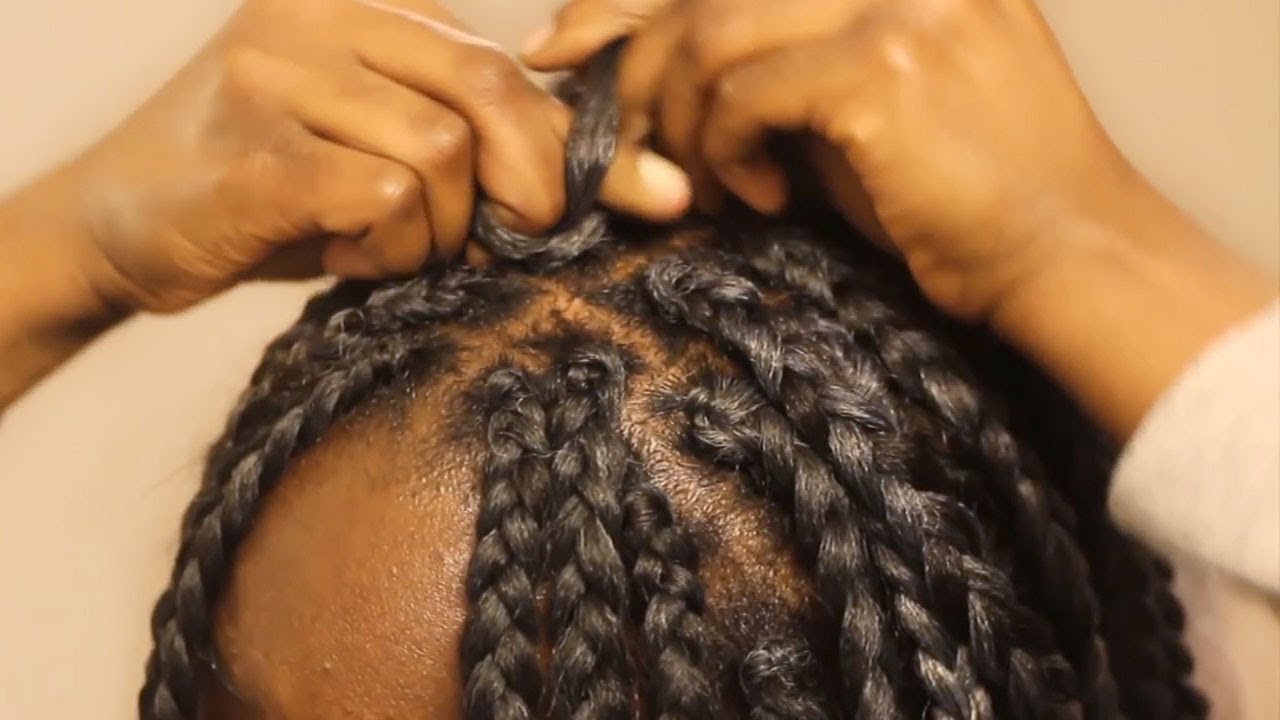
Once you are done with preparing your hair, use a rattail comb to partition the hair into smaller sections. Furthermore, divide the section you want to work with into three equal parts which we will call left, middle, and right sections. The way you hold the hair will affect its beauty. Therefore use your hands to hold both extreme sections (left and right).
Start braiding by crossing your right section to the middle thereby making the middle section become the right section. In like manner, move the left section to the middle so that the first right middle which is currently at the middle is moved to the left. Continue from the right again and then the left until you reach the end of the hair. See the video below.
Finishing touches on the braided hair
Now that you are done with braiding, there are a few things that will magnify its beauty. One of them is styling your hairline. It is almost impossible to braid those short tuffs of hair. However, if you do nothing about them, they can water down your appearance.
To tame those hairline (baby hair), you need a soft toothbrush and a gel. It is important to use a moisturizing gel to prevent excessive dehydarion of the hairline. Use the brush to take a small portion of gel and rub it on the baby hair. You can invent any design of your choice as long as it makes you comfortable.

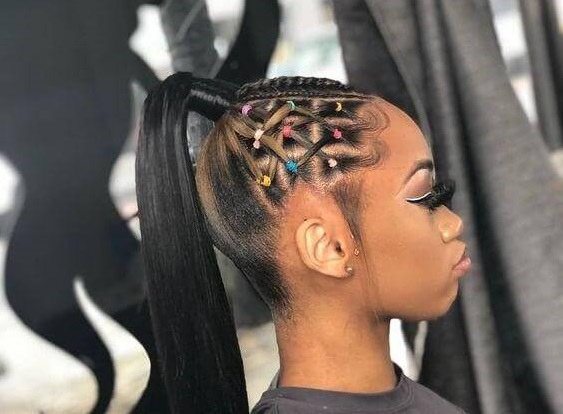
You can accessorize your hair with beads or colored rubber bands to give it a unique look. Some beads or rubberbands may need to be added while still plating the hair. It all depends on what you want to achieve. Adding decorative beads along the length of a braid is usually more difficult to pull off than adding them at the fringes.

Conclusion

Voila, making your hair is not so difficult after all. However, you have to really grow your skills and developed nifty fingers to be able to pliat complex hair on yourself. Braiding your hair is one thing and packing it properly is another. the picture above are just examples of how you can pack your hair after braiding.
Now that you see what you can add to increase the regal attributes of braided hair, can you guess the next thing that you need to know? Of course, your imagination needs to run wild. Some of the styles you can make on your won are updo, fishtail side, ponytail etc. Have you ever tried to braid your own hair? Let us know what the experience feels like in the comment box below.


Responses