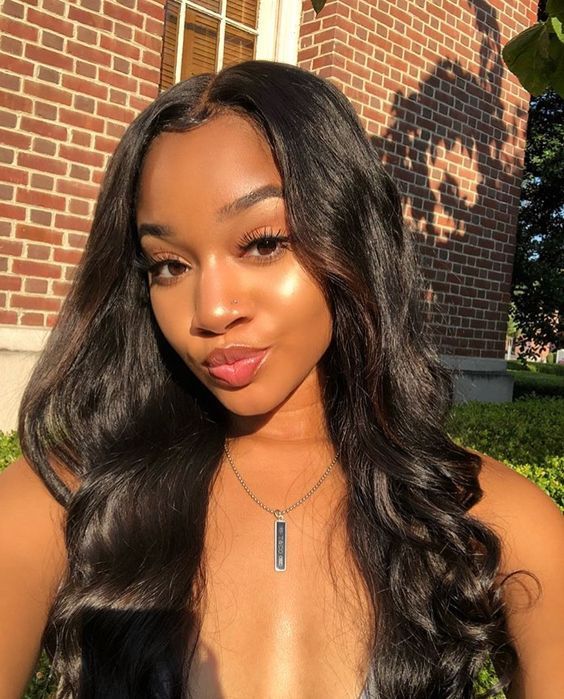
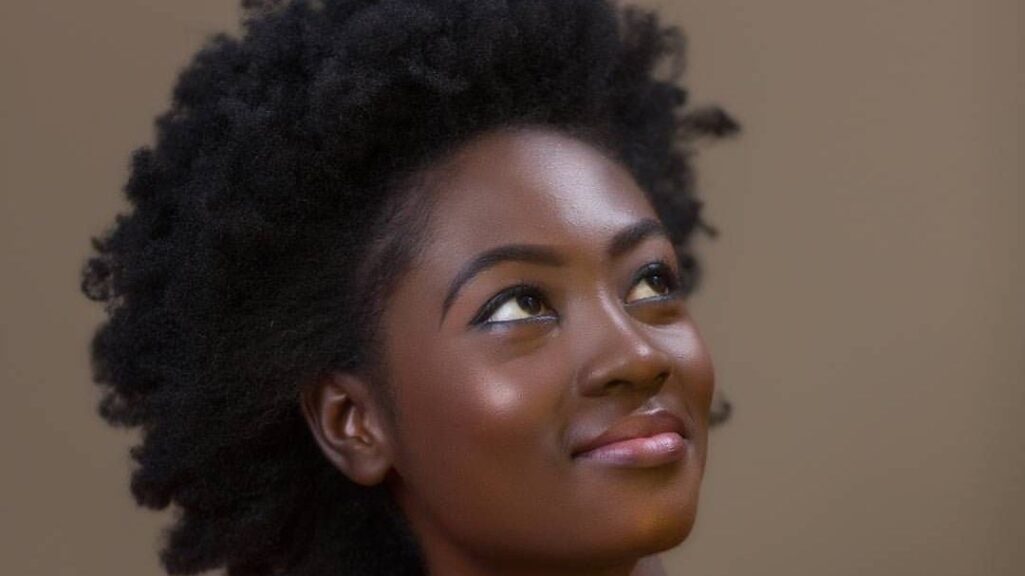
10 YouTubers Share Inspiring Sew-In Hairstyle Secrets


You have probably made a list of everything you will buy this holiday season, but have you thought of your hair? We are not all blessed with long hair. However, if you desperately want fuller and voluminous hair, getting sew-in hairstyles can do the trick.
Sew-in hairstyles are easy to achieve and never go out of trend. Also, they are protective and allow you to change your look anytime without breaking the bank. A sew-in is just like hair extensions or weaves.
Sew-in hairstyles are particularly a lifesaver for working ladies who may not have all the time in the world to spend in the salon. Apart from being easy to make, they also last longer. They can last anywhere from 6 to 12 weeks. However, that will depend on the quality of the extension and the way you take care of them.
ALSO READ: 20 Kids Hairstyles Perfect For School
You can install them on natural or relaxed hair. Already thinking of getting sew-in hairstyles? These top YouTubers will walk you through the entire process.
How can you prepare your hair for a sew-in hairstyle?

Before installing sew-in hair extensions, ensure that you first wash your hair with a shampoo and hair conditioner. Avoid installing extensions on dirty hair. This is particularly important because the extensions don’t need to be washed often after installation.
Experts suggest that you wash and condition your sew-in hairstyle once in three weeks. The more frequently you wash your sew-in hairstyle, the less durable it will become. Washing your hair before installing your sew-in will also lower how often you will need to wash them afterward.
Also, keeping your scalp clean will help you to have healthier hair. A dirty scalp also increases your chance of coming down with a nasty hair infection.
Why do sew-ins itch so much?
A handful of people have reported itching after a few days of wearing their sew-in hairstyle. While they love the look it gives to their face, this negative experience is the reason holding them back from embracing the trend.
The itching will normally occur if the hairstylist is not a professional. Weaving the hair too tight or sewing in the extensions too tight will apply pressure on the hair follicle which will cause them to become inflamed. It is this inflammation that leads to itching.
ALSO READ: 8 Tips To Grow Your Natural Hair Faster
Another reason why your sew-in hairstyle may itch is when your body reacts to the material used for making the extension. Therefore, it is always important to identify your allergies and only go for products that your body tolerates.
10 bloggers share sew-in hairstyles’ secret
One hairstyle that features regularly in hair blogs is the sew-in hairstyle—and it is understandably so. They are easy to achieve which will save the bloggers some editing time. After browsing through hundreds of videos on sew-in hairstyles, these are the ones that stood out for us.
Note: During the description, we may recommend products with affiliate links. That means African Vibes may be eligible for a commission on qualifying sales. However, we will only recommend products that we or members of the African Vibe community have tested.
#1. Knockout Beauty
This blogger explores the fold-over method for sew-in hairstyles which is less frequently used. Here you can flip the weave, and continue sewing it instead of cutting it. This blogger starts by braiding the hair into a cone while leaving out a small portion at the front.
The left portion is braided forward. She then takes a bundle of hair extensions and sews them on the braided hair. When properly done, the braided hair becomes invisible and is totally covered by the hair extension.
One thing is certain, the way you braid your natural hair will determine how evenly the hair extension will be distributed at the end. For a uniform voluminous look, starting with a well-braided cone will do the trick.
#2. SimoneSharice
Have you seen one of those adverts where a lady rocks a bouncy bob that is light at the top and but full and bouncy as it goes down? This blogger shares the secret of how it is done. Creating a leave-out is one of the ways of making your sew-in weave look natural.
Beautiful Simone guides us through on how you can create a sew-in with a leave-out. She begins by sectioning her hair horizontally across. The back section is braided backward. The front portion is further divided into two longitudinally and each half is braided to the side.
This arrangement makes the natural hair form a sort of slope so that when the sew-in hair is installed using a needle and thread, you will get that volume a bigger volume downward than on top. Smoothen and form the hair into a bob using a flat iron.
#3. Lovely MoyMoy
When people hear sew-in hairstyle, they mostly think about straight long hair or short bob. Well, Lovely MoyMoy has shown that it can also be used for wavy hair. If you love curly hair, getting curly hair extensions is one way of getting your dream hair.
For this style, she uses two bundles of hair. She starts to make this gorgeous style by braiding cornrows throughout the head, starting from the nape. She then sews in the hair extensions one after the other doubling up the track from the ears to the head’s crown. The look is completed by sewing a closure at the center of the head.
So, if you have ever thought that sew-in hairstyles are for straight hair alone, Lovely MoyMoy has just disclosed a secret to you.
#4. TT Kelly
If you have been struggling to get that flawless-looking center parting, this blogger reveals the secret. TT Kelly, a hairstylist and hair makeup artist in Kansas City, shares with us tips she uses to install sew-in hairstyles.
The first thing she does is to braid a small portion of the at the front. She then forms an arc around the front single-strand braid and braids that arc. The rest of the hair is braided into a cornrow. Getting that front arc correctly is the secret to having a flawless center parting.
She installs sews in the hair extension after braiding. After sewing in the hair extension, the single braid made at the front is loosened. That small area is where you will do the parting. When braiding your hair, it is crucial to apply hair grease. This will not only give you a shiny finish but also protect the scalp.
ALSO READ: 9 Game-Changing Natural Hair Products For Black Hair
#5. IKNOWICAN
There is nothing as irritating as dirty hair and scalp. This Youtuber knows the benefits of having a clean scalp and hair. That’s why she washes, moisturizes and blow dries her mane before sewing in the extensions.
She then braids cornrows around her head in a circular motion. Afterward, she uses three bags of curly hair extensions for a fuller look and sews them in on the cornrows. The entire process is satisfying to watch.
#6. Beauty Haullj
Whoever thought that sew-in can be used for making ponytails? Ponytail is one of the hairstyles that recycle in different forms almost every year. The first step in achieving this style is to braid the hair into cornrows going downwards.
Then, use a bandage to wrap around your edges. Sew the end of the bandage to prevent it from moving. Then take the hair extensions and sew them to the cornrows starting from the back. After sewing, tie the hair into a ponytail.
Add bonding glue to the bandage and stick the hair on it. If done correctly, you will end up with fringe edges that elevate the appeal of the hairstyle.
#7. IAMERICKA J
The reason why a lot of people find their sew-in hair lifting at the edges after a week or two is because of dirt and oil. In this video, Erica starts by using 91% alcohol to wipe off dirt and oil from the forehead, edges, and areas surrounding the ears.
She then proceeds to spray around the forehead with got2b blasting freeze spray. Next, she uses a blow dryer to dry off the glue. Afterward, she put on a net cap to cover the natural hair. She again takes the got2b gel and applies it to the hairline.
The next step is to lay the wig on the head and sew the middle and back parts in while you use glue to hold the front. Once the glue has dried, you can style your hair however you like.
#8. Dr. Sophia Reed
For this hair tutorial, Dr. Sophia uses a wig cap and Brazillian hair extensions. Sophia uses a needle and string to sew in the hair in a circular motion. After sewing, all the way around, she overlaps the hair at the front to make it thick.
She then brushes the hair and cuts it at the front to create bangs. Lesson learned. Sew-in hairstyles don’t have to be anything complicated.
ALSO READ: 25 Gorgeous Natural Hairstyles for Work
#9.Life with Sophie
Sophie starts to make this sew-in hairstyle by sectioning a leave out at the front of her hair. Then she braids cornrows in a circular motion. Using a needle and thread, she sews in the loose braid.
After sewing in the hair extension, she moisturizes the hair and trims it short. Lastly, she blowdries and flat irons the hair to the desired style. While center parting is arguably the most popular in sew-in hairstyles, Sophie shows that we can take the part to the side.
#10. Epitome of London
Hair loss also known as alopecia is a big issue among African women. In some tribes, women start losing their hair as early as their twenties. The reason for this condition is still unclear. This YouTuber demonstrates that a frontal sew-in can help those with alopecia to regain their confidence.
She starts by braiding cornrows and applying oil on the scalp. However, she doesn’t let the cornrows reach the nape. She adds an elastic band to keep the front intact and prevent the sides from coming off quickly. She then sews in the rest of the hair using hair extensions, brushes it, and cuts the hair into a nice pixie.
Conclusion
There are many sew-in hairstyles that you can rock. Whether you want a sew-in for a night out, office, or wedding, there is always a style for all occasions. These YouTubers have shown us how simple it is to sew in that weave or hair extensions.
Also, regardless of whether you have long or short hair or suffer from alopecia, you can still wear a sew-in hairstyle. Just get a hairstylist who can install it or do it yourself. All you will need is bundles of hair, needle, string, and a few skillful hands.
Have you tried sew-in hairstyles before? How long did it last and what was your overall impression of it? Share your thoughts and experience in the comment box below.
Join African Vibes Community for more positive African news, exciting tips, and discussions.


Responses